Sunday 17 March 2013

First exhibition!

Today was the last day of the exhibition of works by local artists in my village in which I took part! There were 23 artists, each one showing a maximum of 4 pieces. This was my first experience of showing my work in a gallery setting and I totally enjoyed it! I even managed to sell one of them, the Couple Shadow Box!

Here are some photos taken at the gallery.


Flyer of the exhibition.


Me, outside the gallery.


I choose to show the following four items:


1. Driftwood Mirror 60 x 60 cm


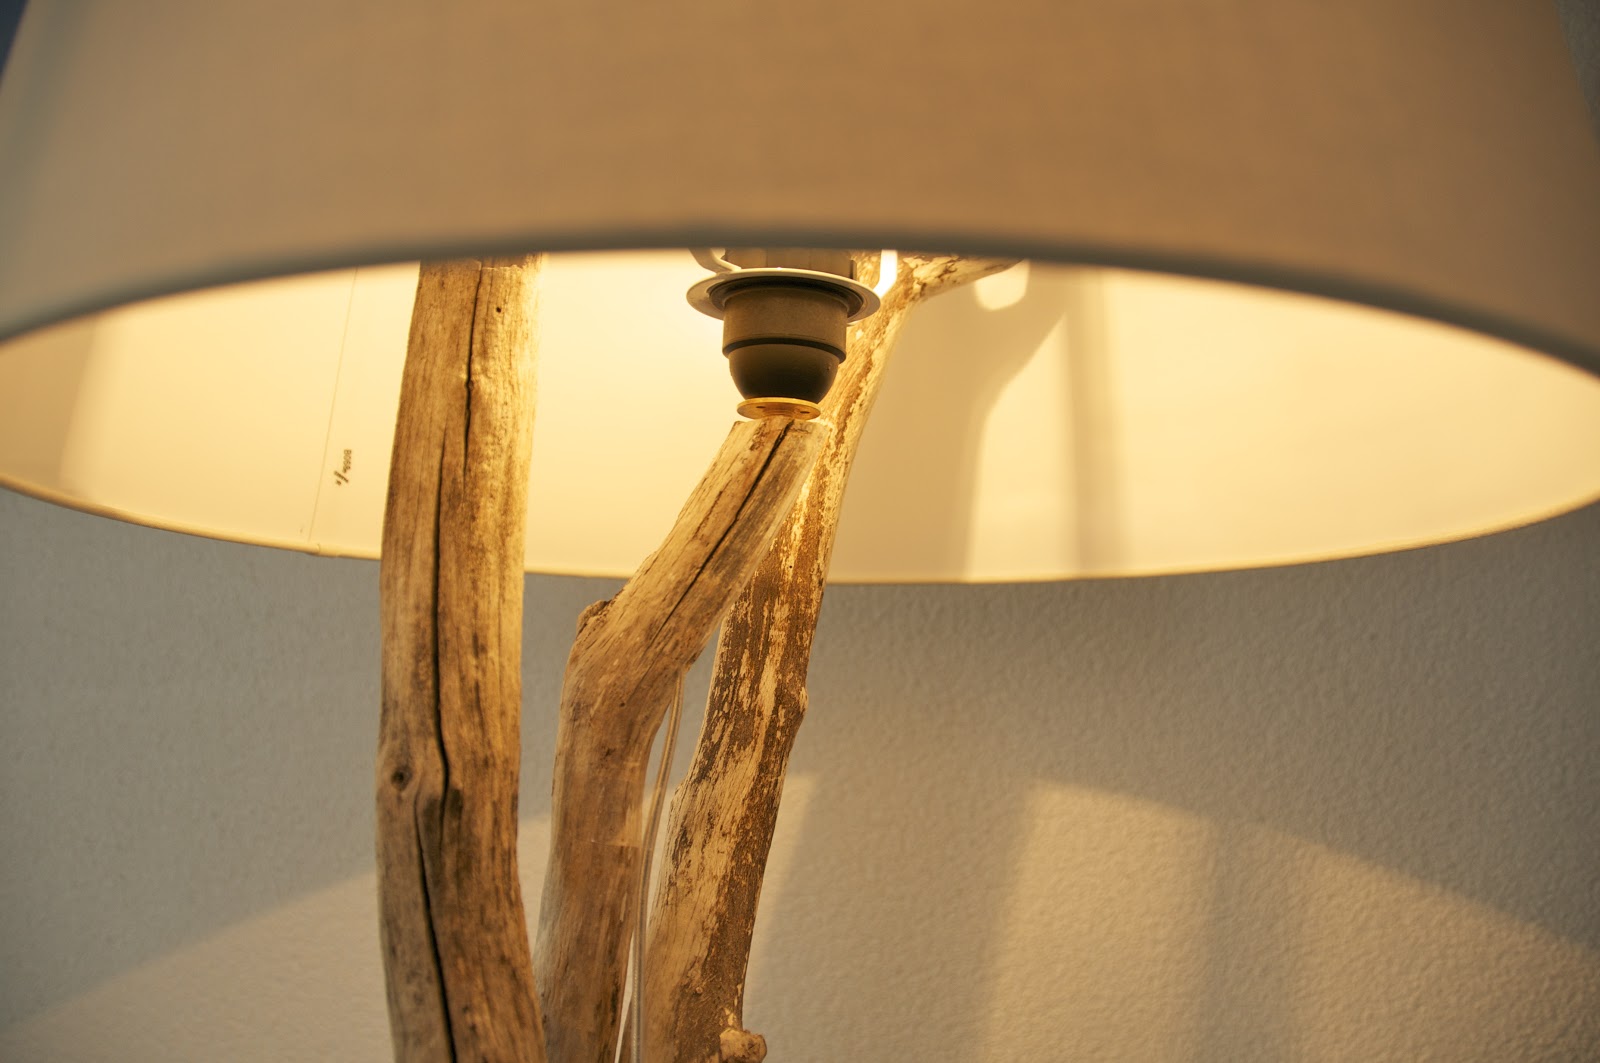
2. Table Lamp using Ikea Hemma Lamp Base


3. Driftwood and Pebbles - Couple in Ikea Shadow Box 23 x 23 cm


4. Blue Beach Pottery Heart on 30 x 30 cm canvas

All the participating artists. I am 4th from right!

Now with one exhibition under my belt, I feel ready to conquer the world :)

Hazel

Friday 15 February 2013

DIY Driftwood Floor Lamp

One of the first posts that inspired me to make anything driftwood was from Maya of Completely Coastal. She made a beautiful floor lamp and also a tutorial here. After many months of procrastination I have finally made my own version!

I used three driftwood sticks for my floor lamp. I drilled holes and then gently hammered the nails to make a tripod. Whilst the tripod was steady on its own, I did trim the legs off a bit.


Then I did the electrical bit after drilling a hole near the top of one of the sticks and then passing the wire through it, similar to Maya's lamp. The only difference is that I have different sockets and parts for the wiring as that is what is used in Switzerland.

I bought a 45 cm dia. Beige Jara shade from Ikea.


I used a transparent wire to make it less obvious.


Here are some photos of the lamp!


Another tick on my 'to do' list of projects! Very pleased with the floor lamp :).

Hazel

Tuesday 22 January 2013

Drilling Beach Pottery

For Christmas 2012, I made simple pendants with driftwood and fresh water pearls (I cut up one of my pearl strings) for my Bible Study girlfriends.


Yesterday for the first time I attempted to drill holes in some of my beach pottery with my regular hand held drill and a Spade bit. It was almost a complete success except for one piece which cracked as I was unable to hold it down properly while drilling.

Here are the things I used:


                                                                                           Hand held drill, Plastic bowl and a flat stone


                                                                                                                Spade Drill Bit

The steps I followed were:

1. Put the flat stone in the bowl (Initially I tried with a flat piece of wood but it kept floating away). Filled it with water till the stone was immersed.

2. Marked the pottery piece with a pen for where I wanted the hole to be and then placed it on the stone in the bowl and added extra water to just about immerse it.

3. Held the Pottery piece down with a plastic fork and placed the drill on the mark and started drilling at slow speed. Sometimes the Drill bit would wander off the mark and I had to stop and start again.

4. Now and then I changed the water if it became too muddy.

5. Once the hole was made, I flipped the Pottery piece around and drilled it to make the hole bigger, i.e. same size as the front.

Here are the results of my drilling:


Now I just need to learn some wire wrapping skills to make double loops like '8' to fit onto these pendants and chains / leather cords!

Hazel


Driftwood Candle Holder


I love the driftwood candle holders which are made of two or three pieces artistically put together. In fact I did try to make one a few months back but could not get my head around how to hold the pieces together. I just could not get them to stay that way!

Yesterday I decided to give the Candle Holder another go and this time I was successful!

I difference between my failed and successful attempt was the fact that instead of nailing the first two pieces together at just one place, I nailed them at two! This gave the structure sturdiness. Then I added the third leg to make it even more stable and aesthetically more appealing.

Here is the finished piece which I am quite pleased with. This has certainly given me the confidence to attempt more such Candle Holders. Next time I will remember to take and work in progress photos too!

Hazel